
Kodi, an open-source media player, has revolutionized the way we consume digital content. With its extensive range of add-ons, users can enhance their Kodi experience by accessing a variety of streaming services and media content. One such powerful add-on is Zen, which brings a vast library of movies, TV shows, and more to your fingertips. In this comprehensive guide, we will walk you through the step-by-step process of installing Zen on Kodi, ensuring you can make the most of this fantastic entertainment resource.
Understanding Kodi Add-ons
Before delving into the installation process, it’s crucial to understand what Kodi add-ons are and why they are integral to enhancing your Kodi experience. Kodi add-ons are third-party extensions that provide additional functionalities to the media player. These add-ons can range from streaming services and content libraries to utilities that improve the overall user interface.
The Significance of Zen Add-on
Zen is a popular Kodi add-on that stands out for its extensive library of movies, TV shows, live TV, and more. It offers a user-friendly interface and robust streaming capabilities, making it a favorite among Kodi users seeking diverse and high-quality content.
Preparing Your Kodi System
Ensuring Kodi is Up to Date
Before installing any add-on, it’s essential to ensure that your Kodi software is up to date. Navigate to the official Kodi website (https://kodi.tv/) and download the latest version compatible with your device. Install the updated version and launch Kodi to proceed with the installation of Zen.
Enabling Unknown Sources
By default, Kodi restricts the installation of third-party add-ons for security reasons. To install Zen successfully, you must enable the option to install from unknown sources. To do this, go to Kodi’s settings, select “System,” then choose “Add-ons.” Toggle the switch next to “Unknown sources” to enable it.
Installing Zen on Kodi
Now that your Kodi system is prepared, let’s move on to the step-by-step process of installing Zen on Kodi.
Adding the Source Repository
To install Zen, you need to add the source repository from which the add-on will be downloaded. Follow these steps:
Launch Kodi and go to the home screen.
Click on the gear icon to enter the settings menu.
Select “File Manager,” and then double-click on “Add Source.”
In the “Add file source” window, click on “<None>” and enter the following URL:
http://repo.lookingglass.rocks/
Click “OK,” and in the next window, provide a name for the media source, such as “Looking Glass.” Click “OK” again to save the source.
Installing the Looking Glass Repository
Now that you’ve added the source, it’s time to install the Looking Glass Repository. Follow these steps:
Return to the home screen and select “Add-ons.”
Click on the open box icon in the top-left corner to access the add-on browser.
Choose “Install from zip file” and select the source you added earlier (“Looking Glass”).
Click on the repository zip file (usually named “repository.lookingglass-x.x.x.zip”) to initiate the installation.
Wait for the notification confirming the successful installation of the repository.
Installing Zen from the Repository
With the Looking Glass Repository installed, you can now proceed to install the Zen add-on. Follow these steps:
In the add-on browser, select “Install from repository.”
Choose “Looking Glass Repository” from the list.
Navigate to “Video add-ons” and select “Zen.”
Click on “Install” to initiate the installation process.
Wait for the confirmation that Zen has been successfully installed.
Configuring Zen for Optimal Performance
Accessing Zen on Kodi
Now that Zen is installed, it’s time to configure the add-on for optimal performance. Follow these steps to access Zen on Kodi.
Return to the home screen and select “Add-ons.”
Find “Zen” in the list of installed add-ons and click on it to launch.
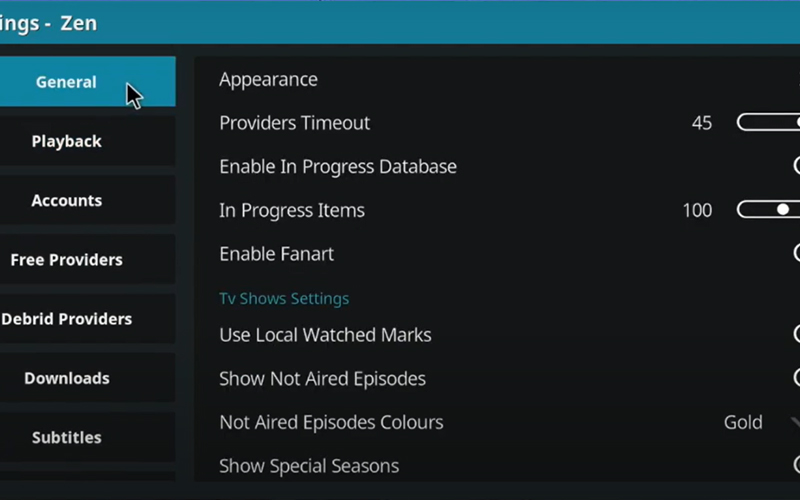
Setting Up Zen for Your Preferences
Upon launching Zen, you may be prompted to configure some settings according to your preferences. This may include choosing your preferred streaming sources, enabling or disabling certain features, and customizing the appearance of the add-on. Take your time to explore these settings and tailor Zen to your liking.
Troubleshooting Common Issues
Failed Installation or Dependencies Error
If you encounter issues during the installation process, such as a failed installation or dependencies error, consider the following solutions:
Ensure that your Kodi software is up to date.
Double-check that you’ve entered the correct source URL.
Verify your internet connection to ensure a stable download.
If the problem persists, seek assistance from Kodi community forums or the official Looking Glass Repository support channels.
Buffering or Streaming Issues with Zen
For users experiencing buffering or streaming issues with Zen, consider the following tips to enhance performance:
Check your internet speed to ensure it meets the minimum requirements for streaming.
Clear the cache within the Zen add-on settings.
Try different streaming sources to identify if the issue is specific to certain servers.
If problems persist, explore Kodi forums or Zen-specific support channels for further assistance.
Conclusion
Congratulations! You have successfully installed Zen on Kodi, unlocking a vast array of entertainment options at your fingertips. With the right preparation and a clear understanding of the installation process, you can now enjoy movies, TV shows, and live content seamlessly through this powerful Kodi add-on. Keep in mind that staying informed about updates and actively participating in Kodi communities will enhance your overall experience and troubleshoot any potential issues that may arise. Now, sit back, relax, and let Zen elevate your Kodi entertainment journey to new heights.